

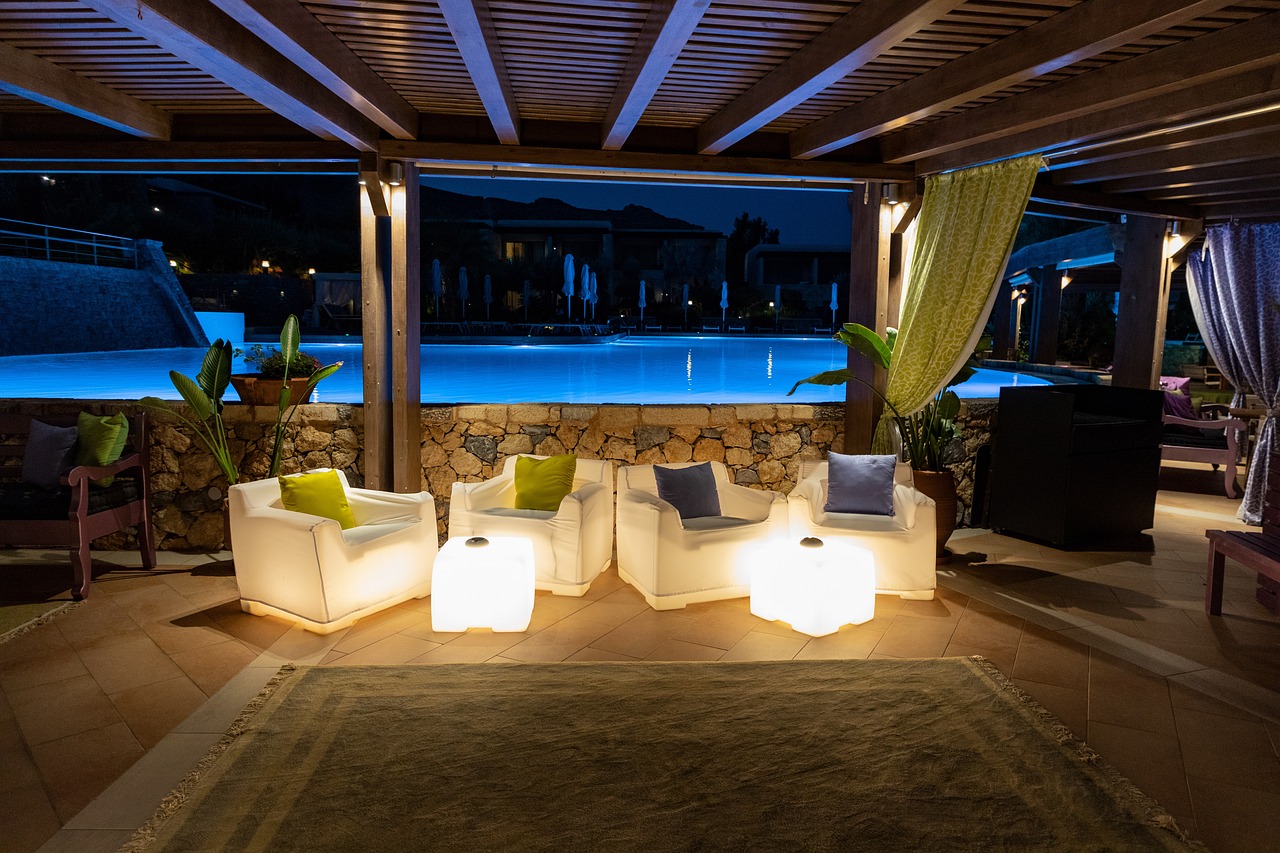
A poolside bar turns an ordinary backyard into a true entertaining destination, giving you a dedicated spot for serving drinks, setting out snacks, and socializing without constant trips to the kitchen. If you are wondering how to plan and build a poolside bar that looks great and lasts, the answer starts with choosing the right location, layout, materials, and features. Every component must withstand moisture, chlorine, sunlight, and changing weather. Options range from a simple DIY wooden bar to a fully equipped outdoor bar with a sink, refrigerator, and shaded seating.
Plan Your Poolside Bar Layout and Design
Careful planning prevents costly mistakes. Before buying materials, define your available space, intended use, number of guests, budget, and how the bar relates to the pool, patio, and house. A good layout lets guests mingle without blocking pool access or everyday traffic routes.
Choose the Best Location for Your Poolside Bar
Place the bar close enough to the pool to feel connected, but far enough to avoid constant splashing and slippery surfaces. Check the following before committing:
- Ground stability and a level, firm base
- Drainage so water never pools around the base
- Sun exposure and the time of day shade is needed most
- Prevailing wind direction (to keep napkins, smoke, and umbrellas under control)
- Access to the house for restocking and cleanup
- Proximity to utilities such as outlets and water lines
Select a Poolside Bar Style and Layout
| Bar Type | Space Requirements | Main Advantages | Ideal Application |
|---|---|---|---|
| Compact serving station | Minimal (4–5 ft wide) | Affordable, quick to build | Small pool decks |
| Freestanding bar | Moderate | Portable, flexible, DIY-friendly | Most backyards |
| Built-in patio bar | Moderate to large | Seamless look, integrated storage | Permanent patios |
| L-shaped bar | Large | Extra counter space, natural gathering corner | Spacious yards |
| Covered bar | Moderate to large | Shade and weather protection | Sunny or rainy climates |
| Swim-up bar | Requires pool integration | Dramatic resort-style appeal | New pool construction |
Small decks suit compact stations or freestanding bars, while larger yards can handle L-shaped or covered designs.
Determine the Right Bar Dimensions and Seating Capacity
Comfort depends on getting measurements right. Leave generous clearance behind stools so guests can sit and stand without bumping into walkways or the pool edge.
| Element | Recommended Dimension |
|---|---|
| Standard bar height | About 42 inches |
| Counter height | About 36 inches |
| Seating allowance | About 24 inches per person |
| Counter depth | 18–24 inches for basic drink service |
| Knee overhang | 10–12 inches |
A footrest along the base adds comfort at bar height and encourages guests to linger.
Choose Durable Materials for a Weatherproof Poolside Bar
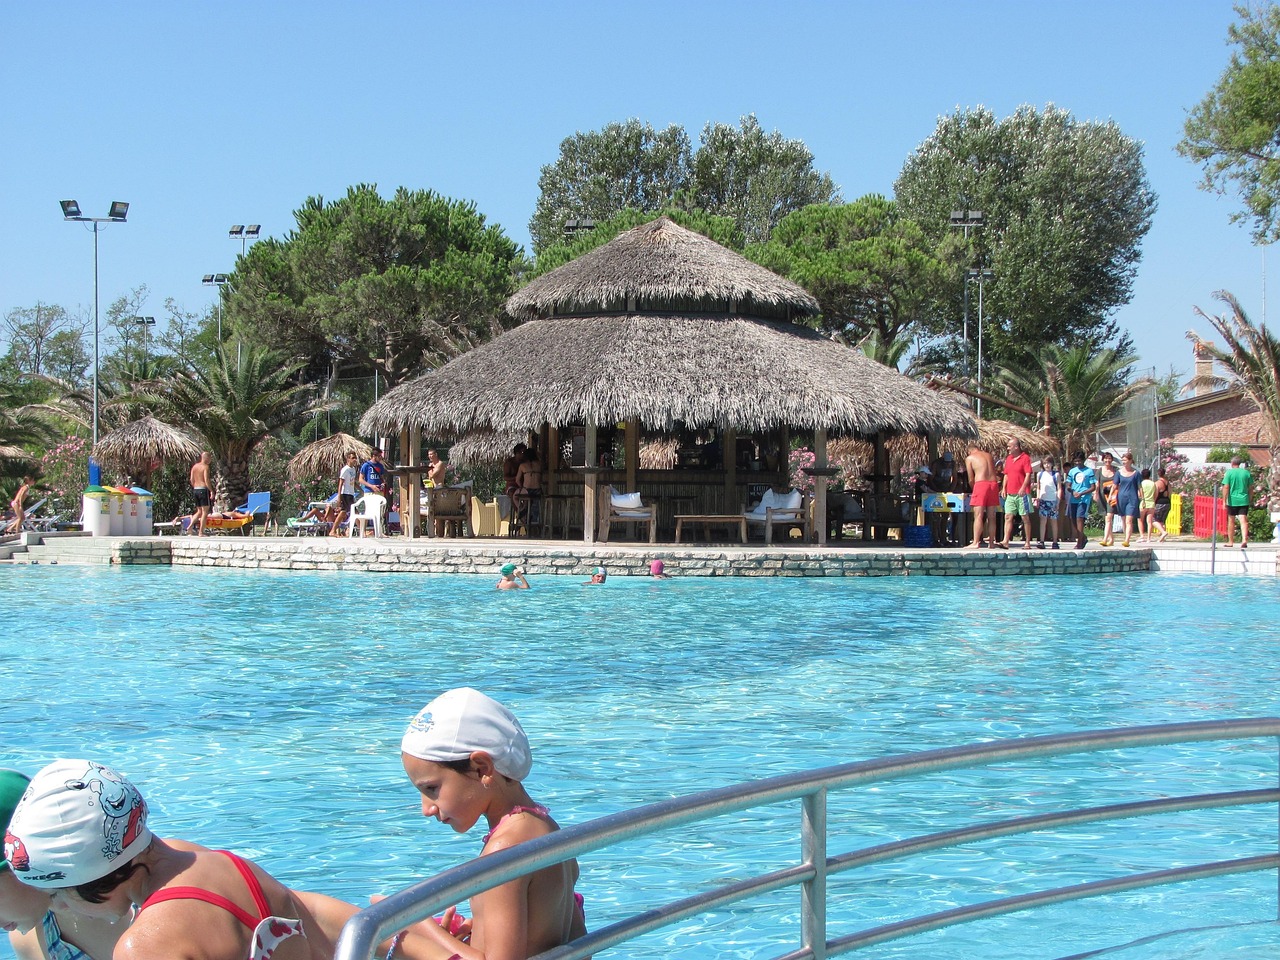
Pool water, chlorine, UV rays, humidity, and temperature swings all degrade materials over time. Choose based on durability, appearance, maintenance, and cost. For general guidance on outdoor-safe construction and pool safety, consult the U.S. Consumer Product Safety Commission’s pool safety resources.
Select Weather-Resistant Materials for the Bar Structure
| Material | Durability | Maintenance | Approximate Cost |
|---|---|---|---|
| Pressure-treated lumber | Good (rot-resistant) | Periodic sealing | Low |
| Cedar | Very good (naturally rot-resistant) | Occasional staining | Medium |
| Stainless steel | Excellent | Minimal cleaning | High |
| Concrete block | Excellent | Low | Medium |
| Masonry/stone | Excellent | Low | High |
Wood is cost-effective but can warp if not sealed, while metal and masonry resist rot but cost more. Regardless of material, use exterior-grade screws, galvanized or stainless steel fasteners, and corrosion-resistant hardware to prevent rust streaks and weakened joints.
Choose a Durable and Easy-to-Clean Countertop
Your countertop faces spills, food prep, and pool chemicals, so choose carefully. Recommended options include:
- Granite: heat- and scratch-resistant, long-lasting
- Porcelain tile: UV-stable, low-porosity, affordable
- Sealed concrete: customizable and sturdy
- Natural stone: attractive, but needs regular sealing
- Stainless steel: hygienic and waterproof, though it can get hot in direct sun
- Treated wood: warm and budget-friendly, but needs the most upkeep
Prioritize slip-resistant edges, sealed joints, proper drainage slope, and UV resistance to prevent fading.
How to Build a Poolside Bar: Step-by-Step Construction
This guide covers a basic freestanding bar suited to homeowners with intermediate DIY skills. The exact method depends on your design, materials, foundation, and whether utilities are built in. A straightforward wood-frame project differs significantly from a permanent masonry or swim-up installation, which typically requires professional help.
Prepare the Site and Gather Tools and Materials
Measure and mark the footprint, confirm the surface is level, prepare a stable base (pavers or a compacted gravel pad work well), and plan for water runoff.
Essential tools:
- Measuring tape and square
- Circular or miter saw
- Drill and screwdriver
- Level and clamps
- Sander
- Safety glasses, gloves, and hearing protection
Materials checklist:
- Lumber or framing components
- Exterior screws and brackets
- Countertop material
- Sealant and waterproof adhesive
- Paint, stain, or finishing products
Build and Assemble the Bar Frame
Cut and label every component according to your measurements. Assemble the bottom and side frames first, then secure the horizontal supports. Add internal bracing and intermediate supports to prevent wobbling, especially under a heavy countertop. Before moving on, verify square corners, level surfaces, and overall structural stability.
Install the Countertop, Shelves, and Exterior Panels
Fasten the countertop securely with appropriate overhang, then install shelves and storage compartments. Exterior cladding options include horizontal wood boards, decorative panels, stone veneer, and weather-resistant finishes. If you plan to include a refrigerator or other appliance, leave ventilation openings as the manufacturer requires.
Waterproof, Seal, and Finish the Poolside Bar
Protect every exposed surface, joint, and fastener opening. Follow this checklist:
- Sand all surfaces smooth and remove dust.
- Seal cut edges and end grain.
- Fill exterior joints and screw holes with outdoor-rated caulk or filler.
- Apply weather-resistant primer, paint, or stain.
- Seal the countertop with a compatible sealer.
- Allow all coatings to cure fully before use.
Add Essential Poolside Bar Features, Utilities, and Safety Measures
Smart additions elevate a basic bar into a functional entertainment area, but keep construction complexity and maintenance in mind.
Install a Sink, Refrigerator, Ice Storage, and Other Bar Accessories
| Upgrade | Purpose | Utility Requirements | Installation Complexity |
|---|---|---|---|
| Outdoor-rated mini fridge | Cold drinks | Electricity, ventilation | Low–Medium |
| Ice maker | Constant ice supply | Electricity, water, drain | High |
| Sink | Rinsing and cleanup | Plumbing, drainage | High |
| Beverage cooler | Chilled storage | None (ice-based) | Low |
| Bottle storage, towel hooks, trash compartment | Organization | None | Low |
Add Shade, Lighting, and Comfortable Seating
Protect guests and surfaces with a pergola, retractable awning, umbrella, or shade sail. For lighting, consider outdoor-rated LED strips, wall lights, pendant lights, and low-voltage pathway lights. Choose weather-resistant stools and arrange them so walkways stay clear.
Practical comfort upgrades:
- Cushioned, quick-dry stool pads
- Outdoor speakers
- Misting fans for hot climates
- Dimmable lighting for evening ambiance
Follow Poolside Construction and Electrical Safety Requirements
Check local building permits, zoning requirements, pool barrier regulations, and applicable electrical codes before building. Use GFCI-protected outlets, outdoor-rated equipment, weatherproof covers, safely routed cables, and proper clearances from the pool. Permanent electrical, gas, and plumbing work should be handled by licensed professionals where required. For electrical guidance, review the National Fire Protection Association’s electrical safety resources.
Safety checklist:
- Eliminate slippery surfaces and sharp edges
- Confirm structural stability
- Position appliances away from water
- Keep pool access unobstructed
Maintain Your Poolside Bar for Long-Term Use
Wipe surfaces regularly, care for the countertop according to its material, reseal wood as needed, inspect hardware, and service appliances.
Seasonal checklist:
- Spring: inspect for damage, tighten fasteners, clean and reseal surfaces
- Summer: wipe down after use, check drainage, keep appliances ventilated
- Winter: empty and disconnect appliances, cover or store the bar, protect against severe weather
Conclusion
Planning and building a poolside bar comes down to a few essential steps: select the right location and design, choose durable materials, and construct carefully with proper sealing and finishing. A successful bar balances appearance, functionality, weather resistance, and safety. Start with a clear layout and a realistic budget, then add optional features like appliances, lighting, and shade as space and entertaining needs allow.