
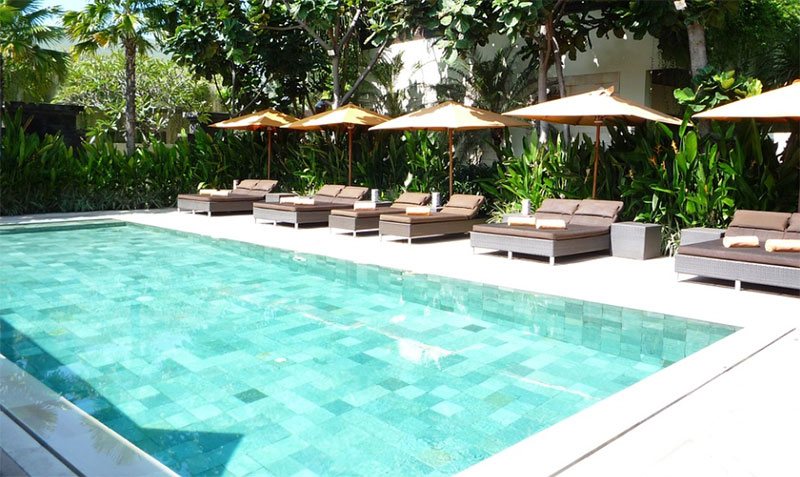
Winterizing your inground pool is something you can do, and I’ll tell you a little secret – it’s not hard to do! I’ve just realized that this year is our pool’s 20th birthday and my 20th pool winterization. We’ve done it right from the start and have saved thousands of dollars doing it ourselves, my husband, and me. Takes us only about 2 hours to do, from start to finish.
The 6-step process for closing any inground pool for winter.
- Clean the Pool
- Balance and Shock
- Lower the Water Level
- Blow Out the Pipes
- Add Winter Chemicals
- Cover the Pool
Clean the Pool
This should start earlier than the day of winterization, if possible. A few days before closing, I always run the pool sweep and give it a good brushing. I also remove the timer ‘off dog’ and let the pump run 24/7 for a few days; I like to over-filter the water before shutting off the pump for five months. If we have an early fall, leaves can sometimes overwhelm ‘Elmer’ (our pool cleaner), so I have to break out Leaf Rakes or a Leaf Gulper to get the big stuff, followed by Elmer, or my husband will manually vacuum the pool.
Balance & Shock
Balancing and shocking of the pool also should be done a few days prior to closing the pool for two reasons. First, to allow any balancing chemicals and shock to circulate well, and secondly, to allow the shock to dissipate before adding other chemicals like algaecide, which can be neutralized or hampered by high chlorine (or high non-chlorine shock) levels.
Lower the Water Level
I know that the Pool Closing Kit instructions say to add chemicals before lowering the water, but I do not like to waste all those precious chemicals and then pump them across the yard. I have a main drain line and two skimmers in my pool. I set my sand filter multiport to backwash and let it run for about 20 minutes, followed by 1 minute of Rinse. Then I set the multiport on the Waste position, closed the skimmers by turning the 3-way valve, and started the pump up again from the main drain only.
In this way, I can lower the water about a foot below the skimmer for my mesh safety cover. Solid winter covers should go about 4″ below the skimmer, or you can keep the water higher if you use an Aquador skimmer closure. If you have trouble lowering the water, skip ahead and put on the pool cover most of the way to keep the pool clean while you lower the water with a small submersible pump or siphon method.
Blow Out the Pipes
For this step, you are going to need a heavy-duty vac/blower. Smaller wet/dry vacs and even large 5hp vacs have trouble blowing out the main drain, even after taking a foot of water out. That’s why, 20 years ago, I bought the Mighty Vac blower, and it’s still with me today! I see that the one that I have is really expensive nowadays, but you can buy the Cyclone Vac, which is the same thing as three-hp blower/vac, for just over $300. I know that seems like a lot of money, but maybe you can get a neighbor or friend to split the cost with you, and you can both winterize your own pool plumbing.
Connect the Cyclone to the skimmer, and you can blow out the entire system – skimmer, main drain, pump, filter, heater, returns, and spa jets – all from one skimmer. Finish by plugging the skimmer and returning with winter plugs and sealing off the main drain by closing the 3-way valve while it’s bubbling with air from the blower. For a detailed tutorial on using the Cyclone Vac, see this earlier post.
Add Winter Chemicals
If you have already covered the pool, keep it clean before blowing out the pipes and adding the chemicals; no problem – just pull the cover onto itself on both sides, and walk your chemicals down the edge of the pool. Since you already balanced the pool water and put your shock into the pool a day or two before lowering the water level, the next step is to add the winter pool algaecide.
I use the Ultimate Winter Kit, so I also add the Pool Magic Spring & Fall, Metal-Free, and the 4lb floater to the pool. Even though it’s not a chlorine floater, I tie a 50 ft piece of twine to the top and wrap the ends around deck anchors to keep the floater in the middle of the deep end area to protect my liner. Then I drop in the oil-absorbing sponge.
Cover the Pool
It’s important to cover a clean pool and not to close the pool with leaves and debris. You can cover the pool anytime during the closing if you have to stop for the day or if the process slows down along the way. Sometimes my husband and I cover the pool (after cleaning it) a week before closing the pool, just to keep it clean.
To finish the closing, we just open the cover-up on two sides, and we have access to everything we need. If you have a safety pool cover, there’s not much else to do after putting it on, but for solid covers, set up a cover pump for rain and snowmelt from the cover. If you have lots of trees, definitely lay a Leaf Catcher on top of your solid pool cover, and you can remove all the leaves in one easy motion after they’ve come off the trees.
And that’s all there is to it! Close your own pool this fall; if you have any questions on your particular pool, give a call to any one of the SPP Pool Experts, we all have experience closing our own pools and are happy to share our ‘secrets’ with you!